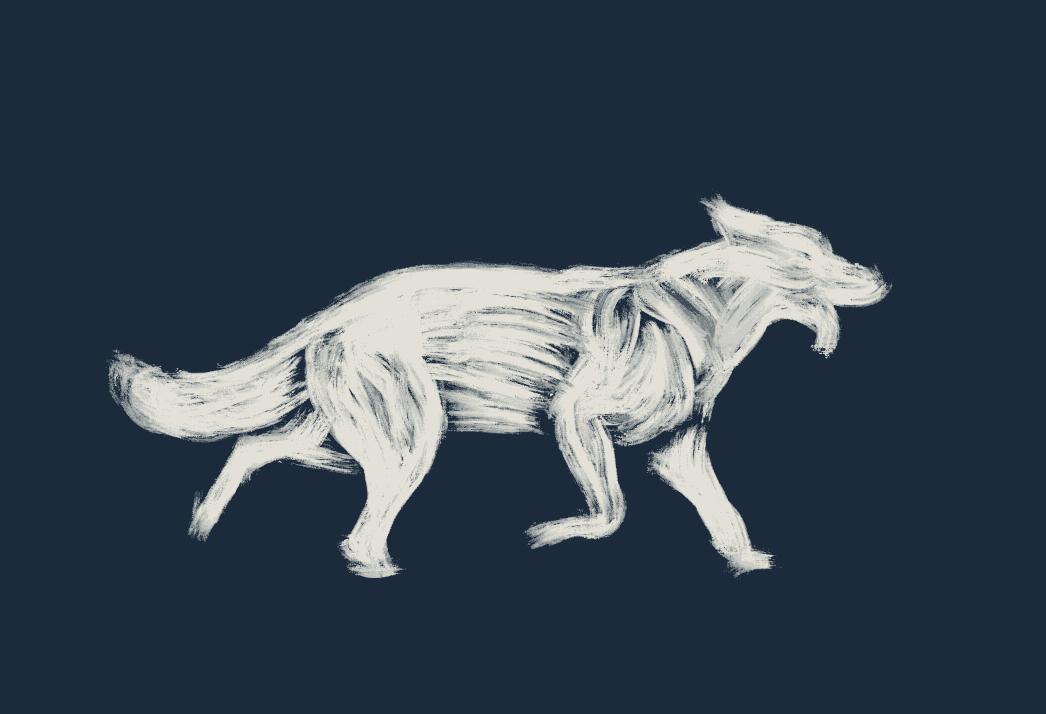
Intro to rotoscoping

12.19.2023
Emmaline Jackson
An introduction
I am by no means an expert in motion or rotoscoping, but they are both things I’ve always been excited about! As you may already know, motion is an incredibly valuable medium. It can convey complex messages & concepts more effectively than static design elements alone. It allows designers to tell stories, explain processes, and demonstrate interactions in a more dynamic way.
One of my favorite motion techniques is rotoscoping. This article will provide a few examples of rotoscoped projects and a quick overview of how to use the application Procreate, which I have always found to be an easy and effective way to create the look and feel I love.
What is rotoscoping?
First let’s talk about rotoscoping. Rotoscoping is a technique where frames are used to guide the animation process, creating a more realistic and fluid animation. In some cases, it involves manually drawing over each frame of a live-action sequence to create realistic animated motion.
Rotoscoping can be used for various purposes, including creating special effects or enhancing animation. It’s been used in numerous films, TV shows, and commercials. These kinds of projects are really impressive! They’re often time-consuming and require careful attention to detail and patience. Even a short clip can take several hours to complete.
Film examples:
Although not entirely rotoscoped, certain sequences in Disney's first full-length animated feature were rotoscoped to achieve realistic human movements, particularly those of Snow White.
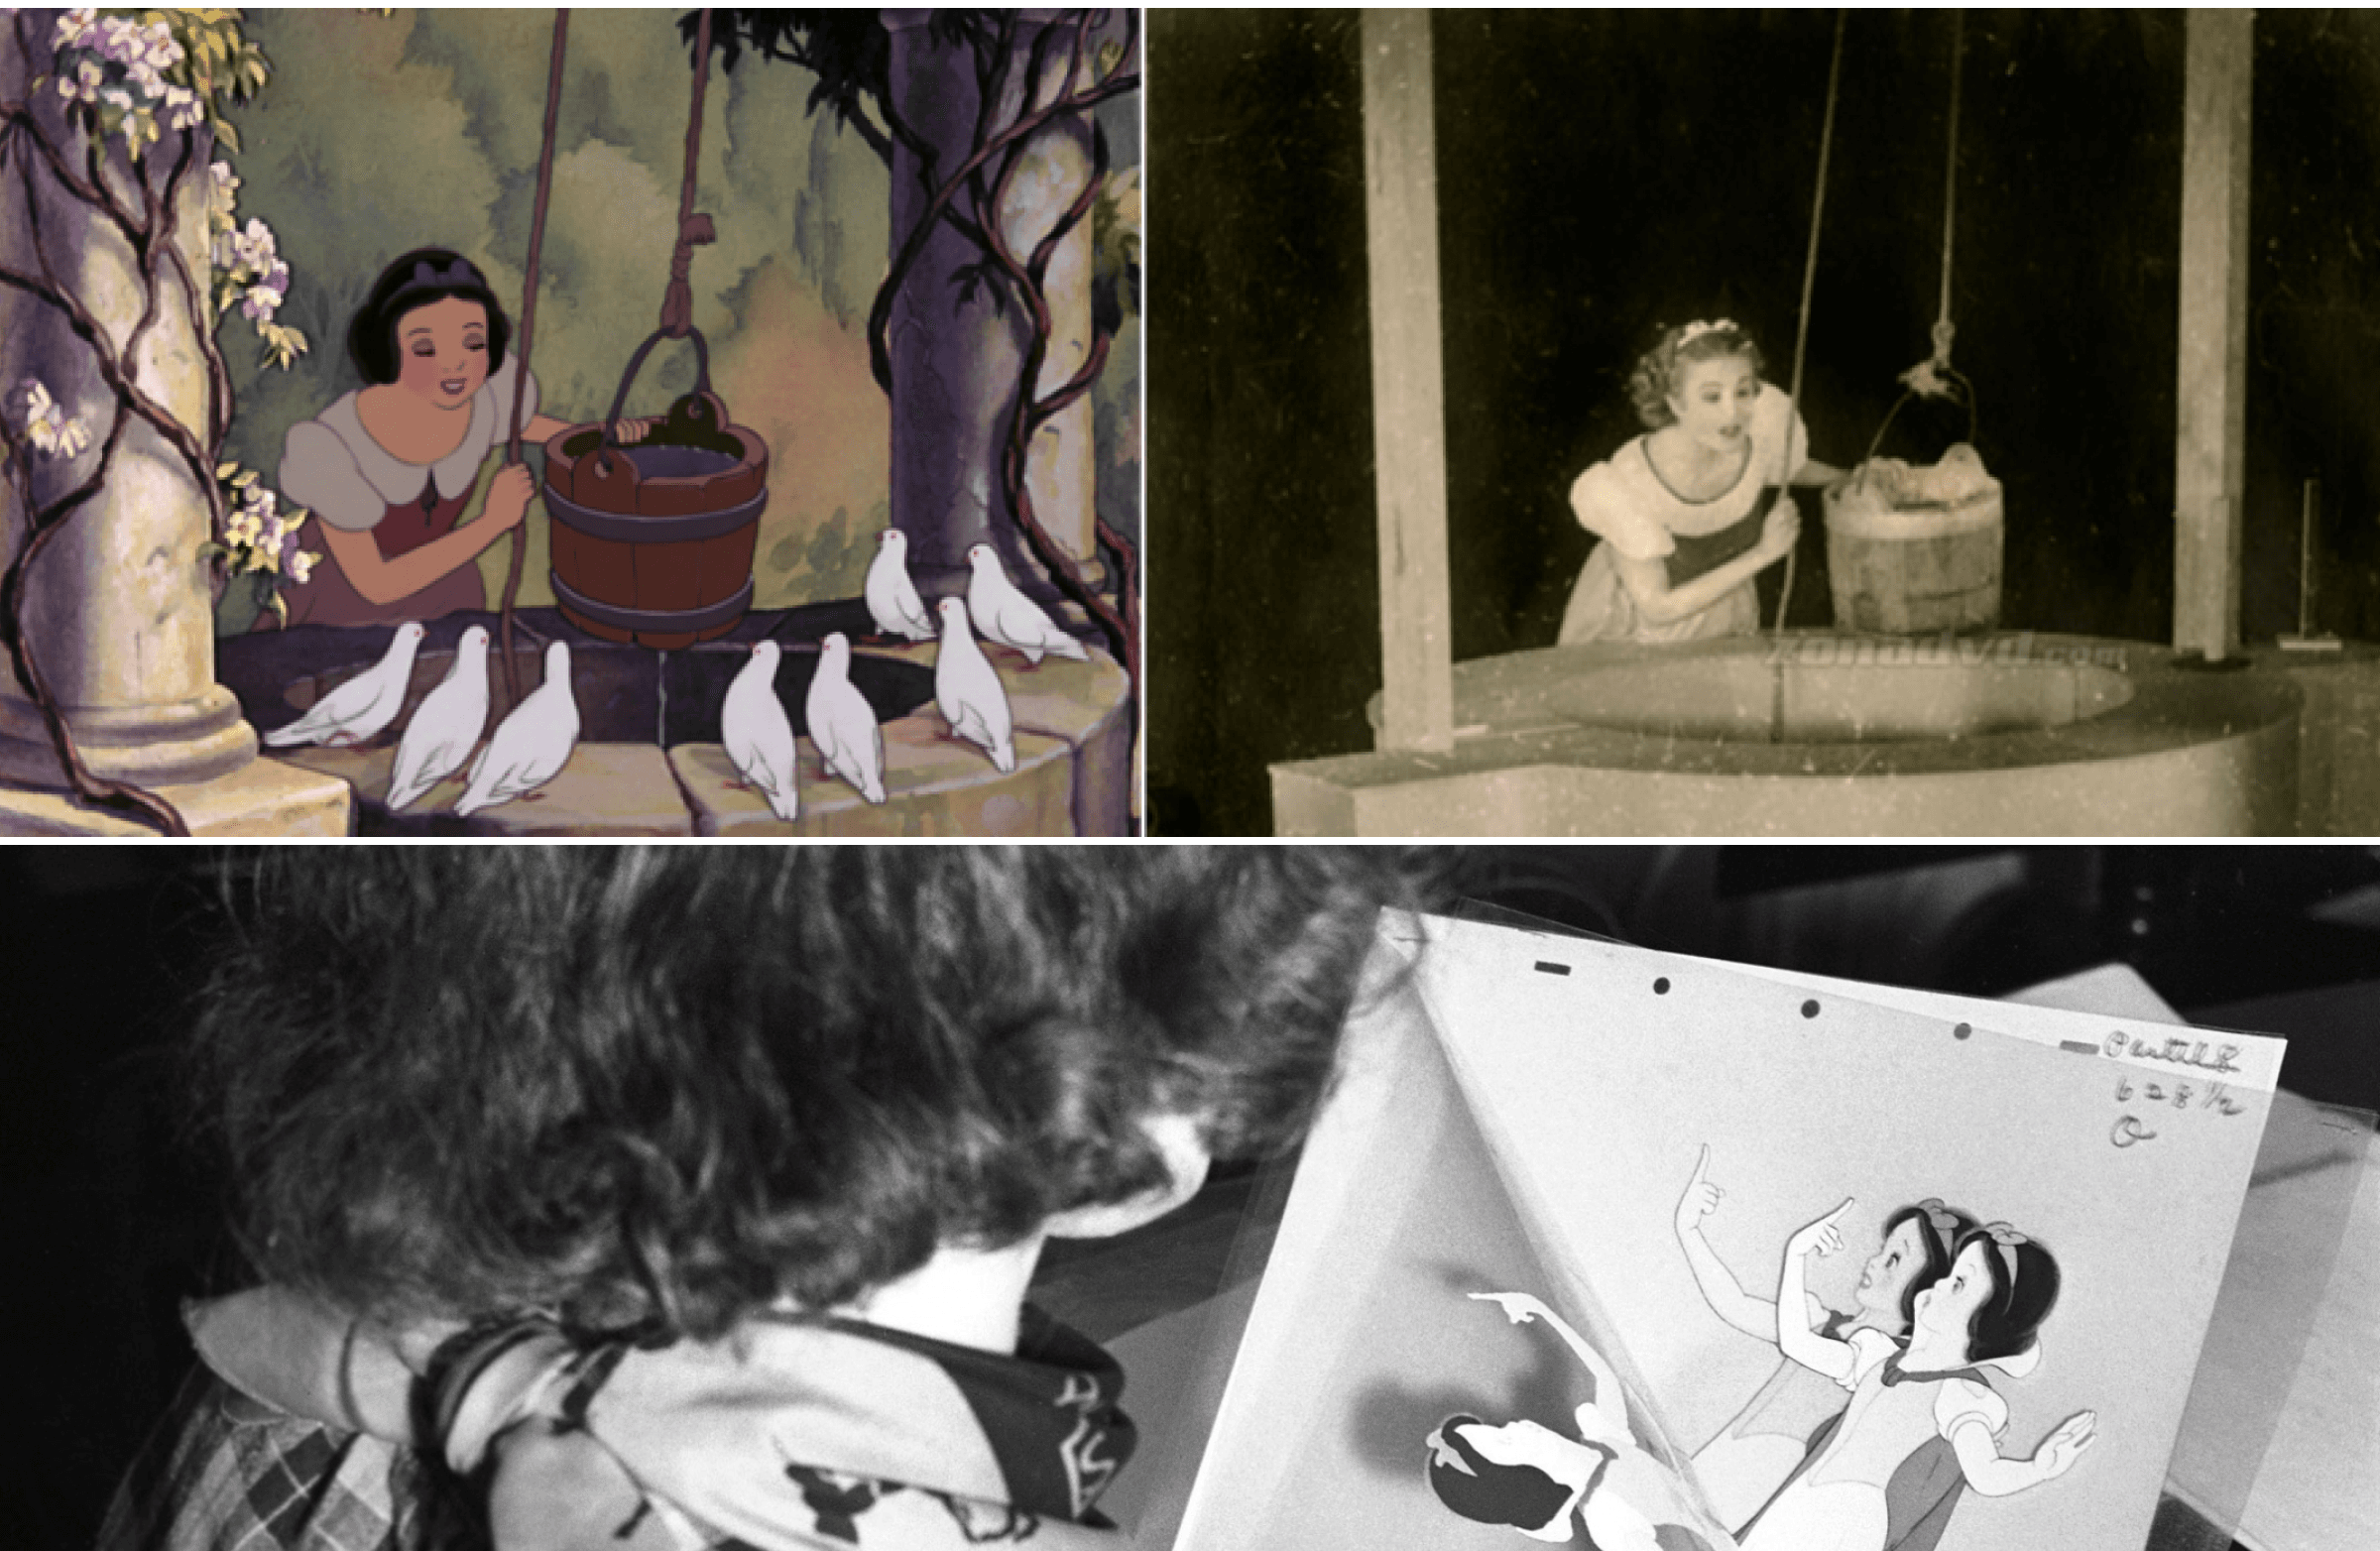
"Snow White and the Seven Dwarfs" (1937)
Directed by Ralph Bakshi, this animated adaptation of J.R.R. Tolkien's epic fantasy "The Lord of the Rings" used rotoscoping extensively, blending live-action footage with animation to create a unique visual style.
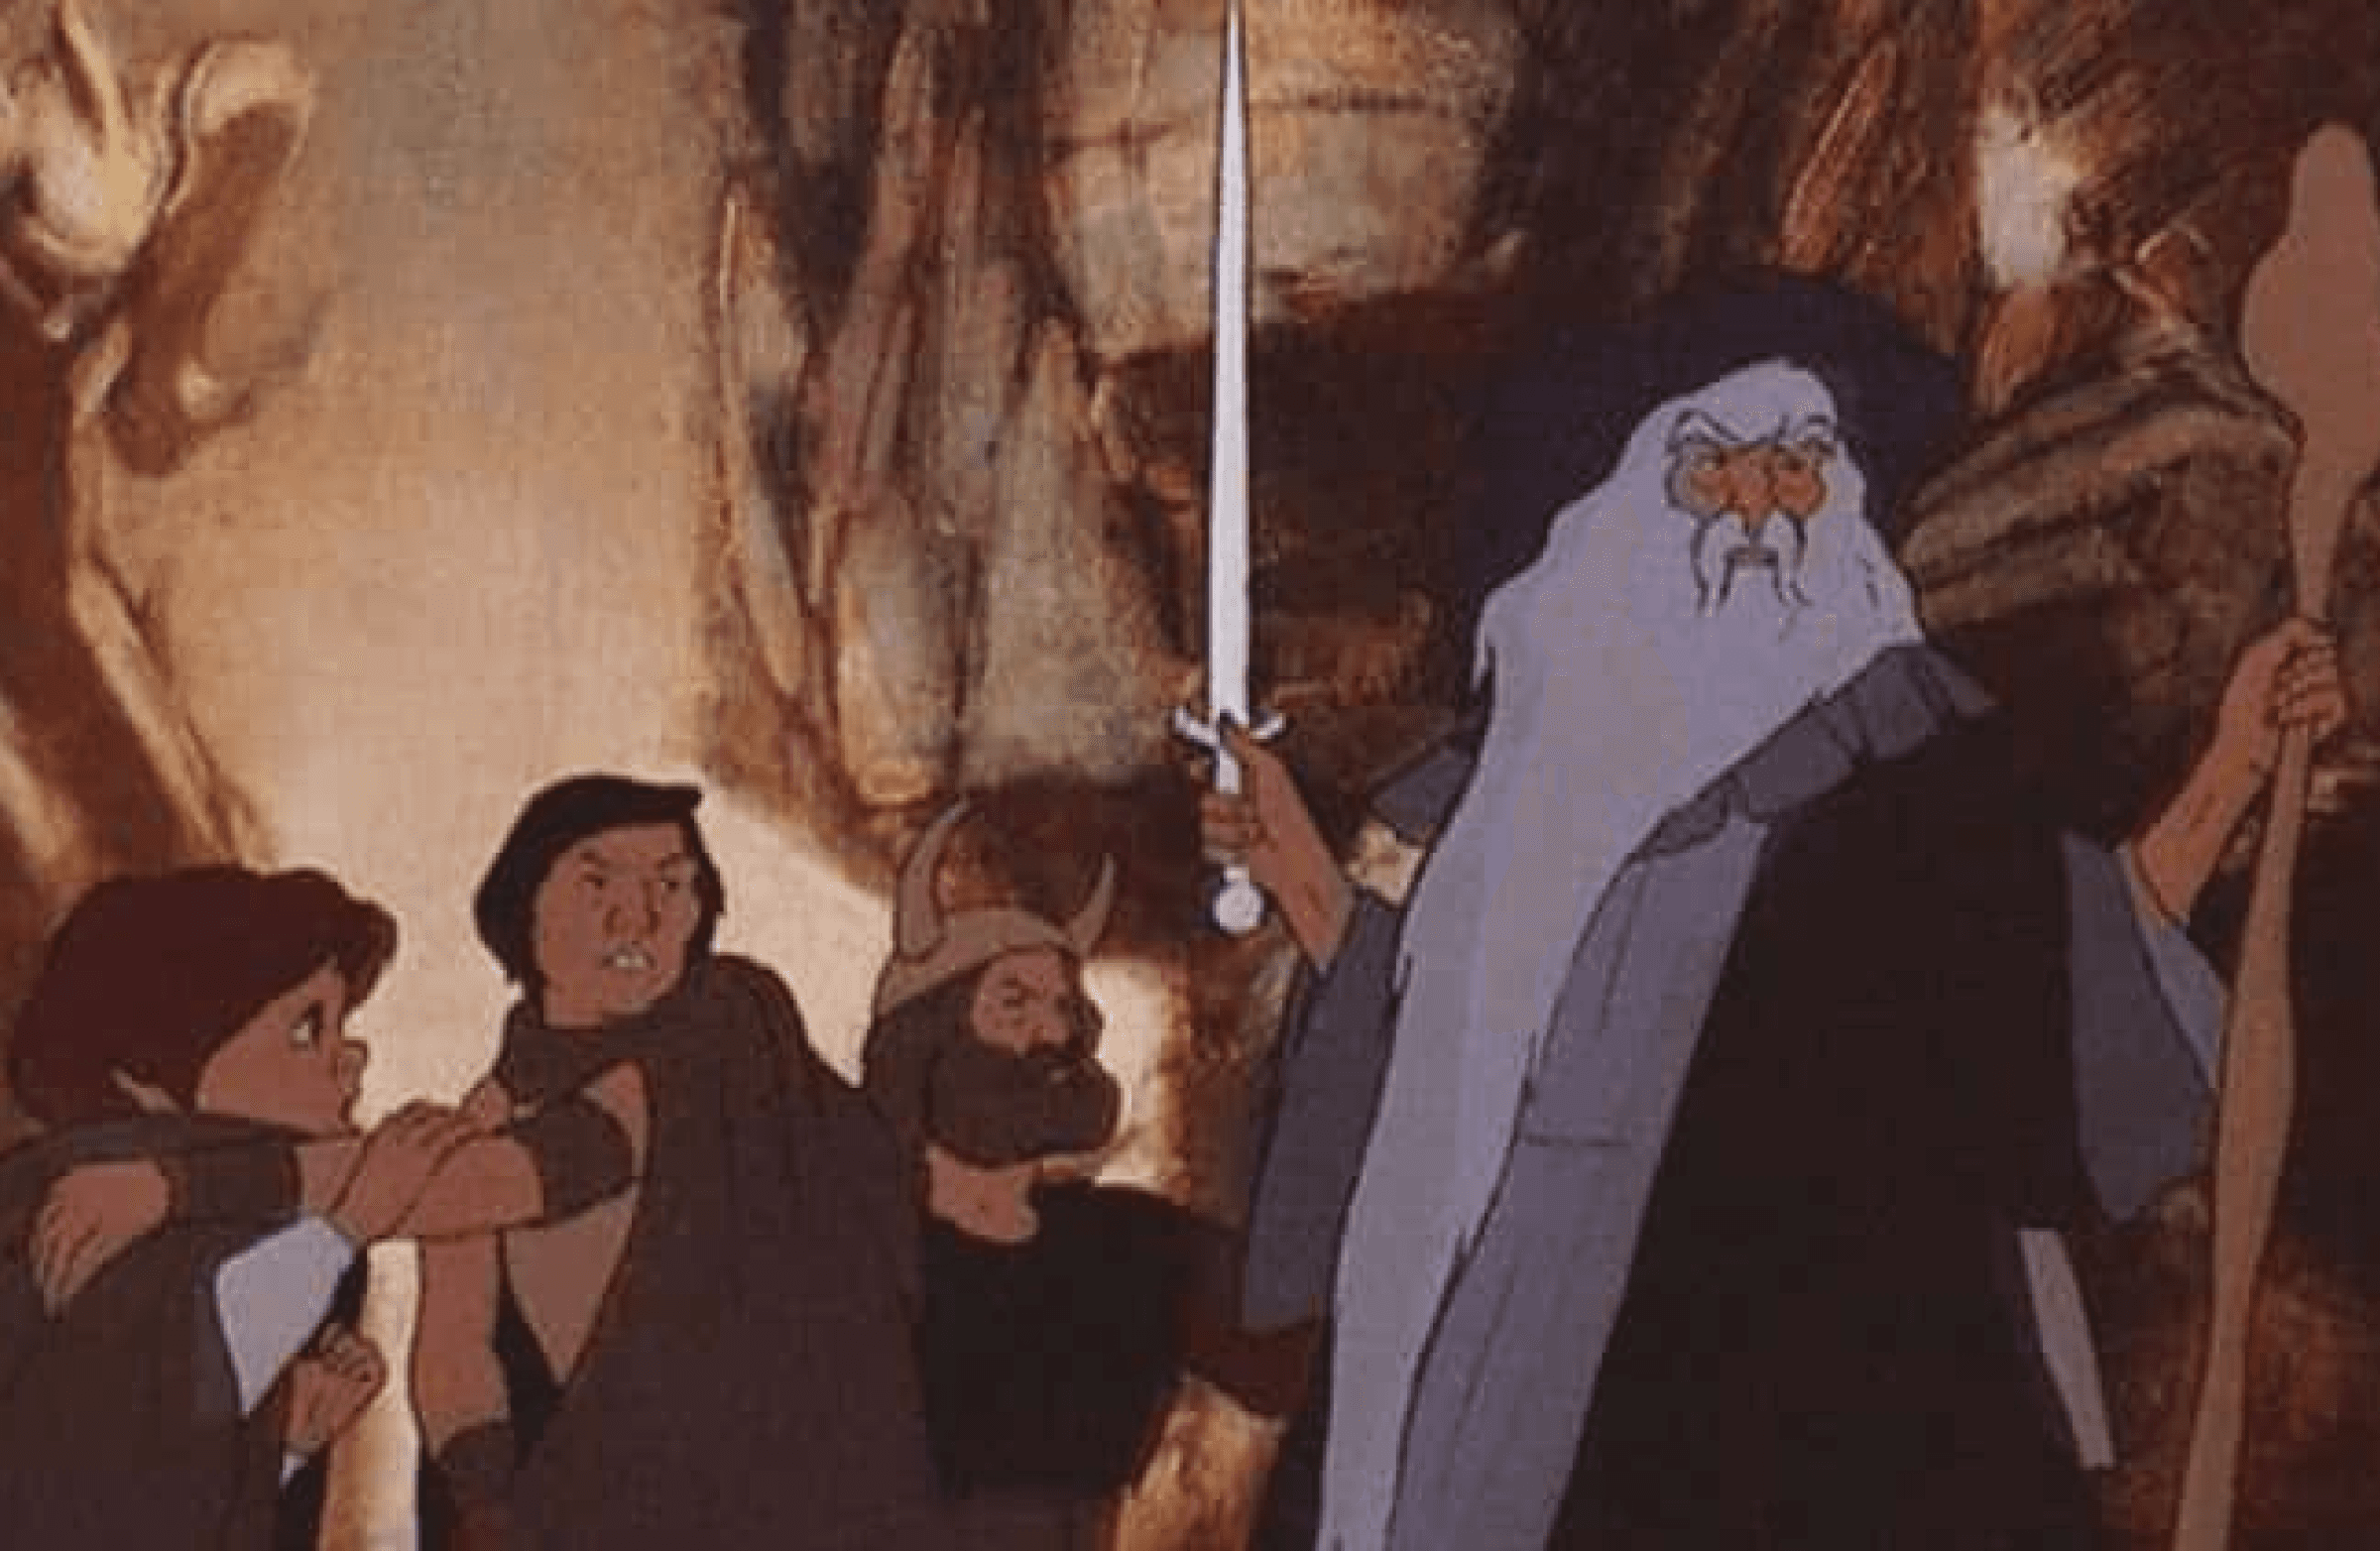
"The Lord of the Rings" (1978)
"Loving Vincent" (2017) is a unique biographical animated drama about the life of painter Vincent van Gogh. It was created by painting each frame in the style of van Gogh's paintings, effectively using rotoscoping to achieve the film's distinctive look.
Music video examples:
While these projects took a good amount of time and energy, rotoscoping isn’t always a laborious practice. The great thing about this technique is that you can bring a project to life with whatever level of effort you’re comfortable applying.
I personally love to create little GIFs. It’s low risk, creative, and I’d even say a therapeutic way to build your animation skills. There are a lot of ways to create GIFs! But my favorite is on my ipad with the procreate app. For those who aren’t familiar with procreate, it’s a digital illustration app designed for artists, illustrators, designers, and really anyone interested in creating digital artwork. It offers a nice range of tools and features that allow users to sketch, paint, and design with precision. I love how closely it’s able to capture and bring to life what I sketch in my notebook. There’s something special about the rough lines and textures of analog processes like sketching or painting, and I think procreate captures that pretty darn well.
Do you want to try it?! I’ve laid out some steps below for creating a simple custom animation on an ipad in procreate, and I'll include a helpful tutorial if you’d prefer to create something using an already existing video.
First, you'll want to set up a new project. Adjust the canvas size under “actions”, “canvas”, “crop & resize” (I usually set mine to 1080px by 1080px). Then choose your brush style (are you sketching? Inking? Painting?) you can also get your colors set up by tapping on the color circle in the top right corner and creating a palette.
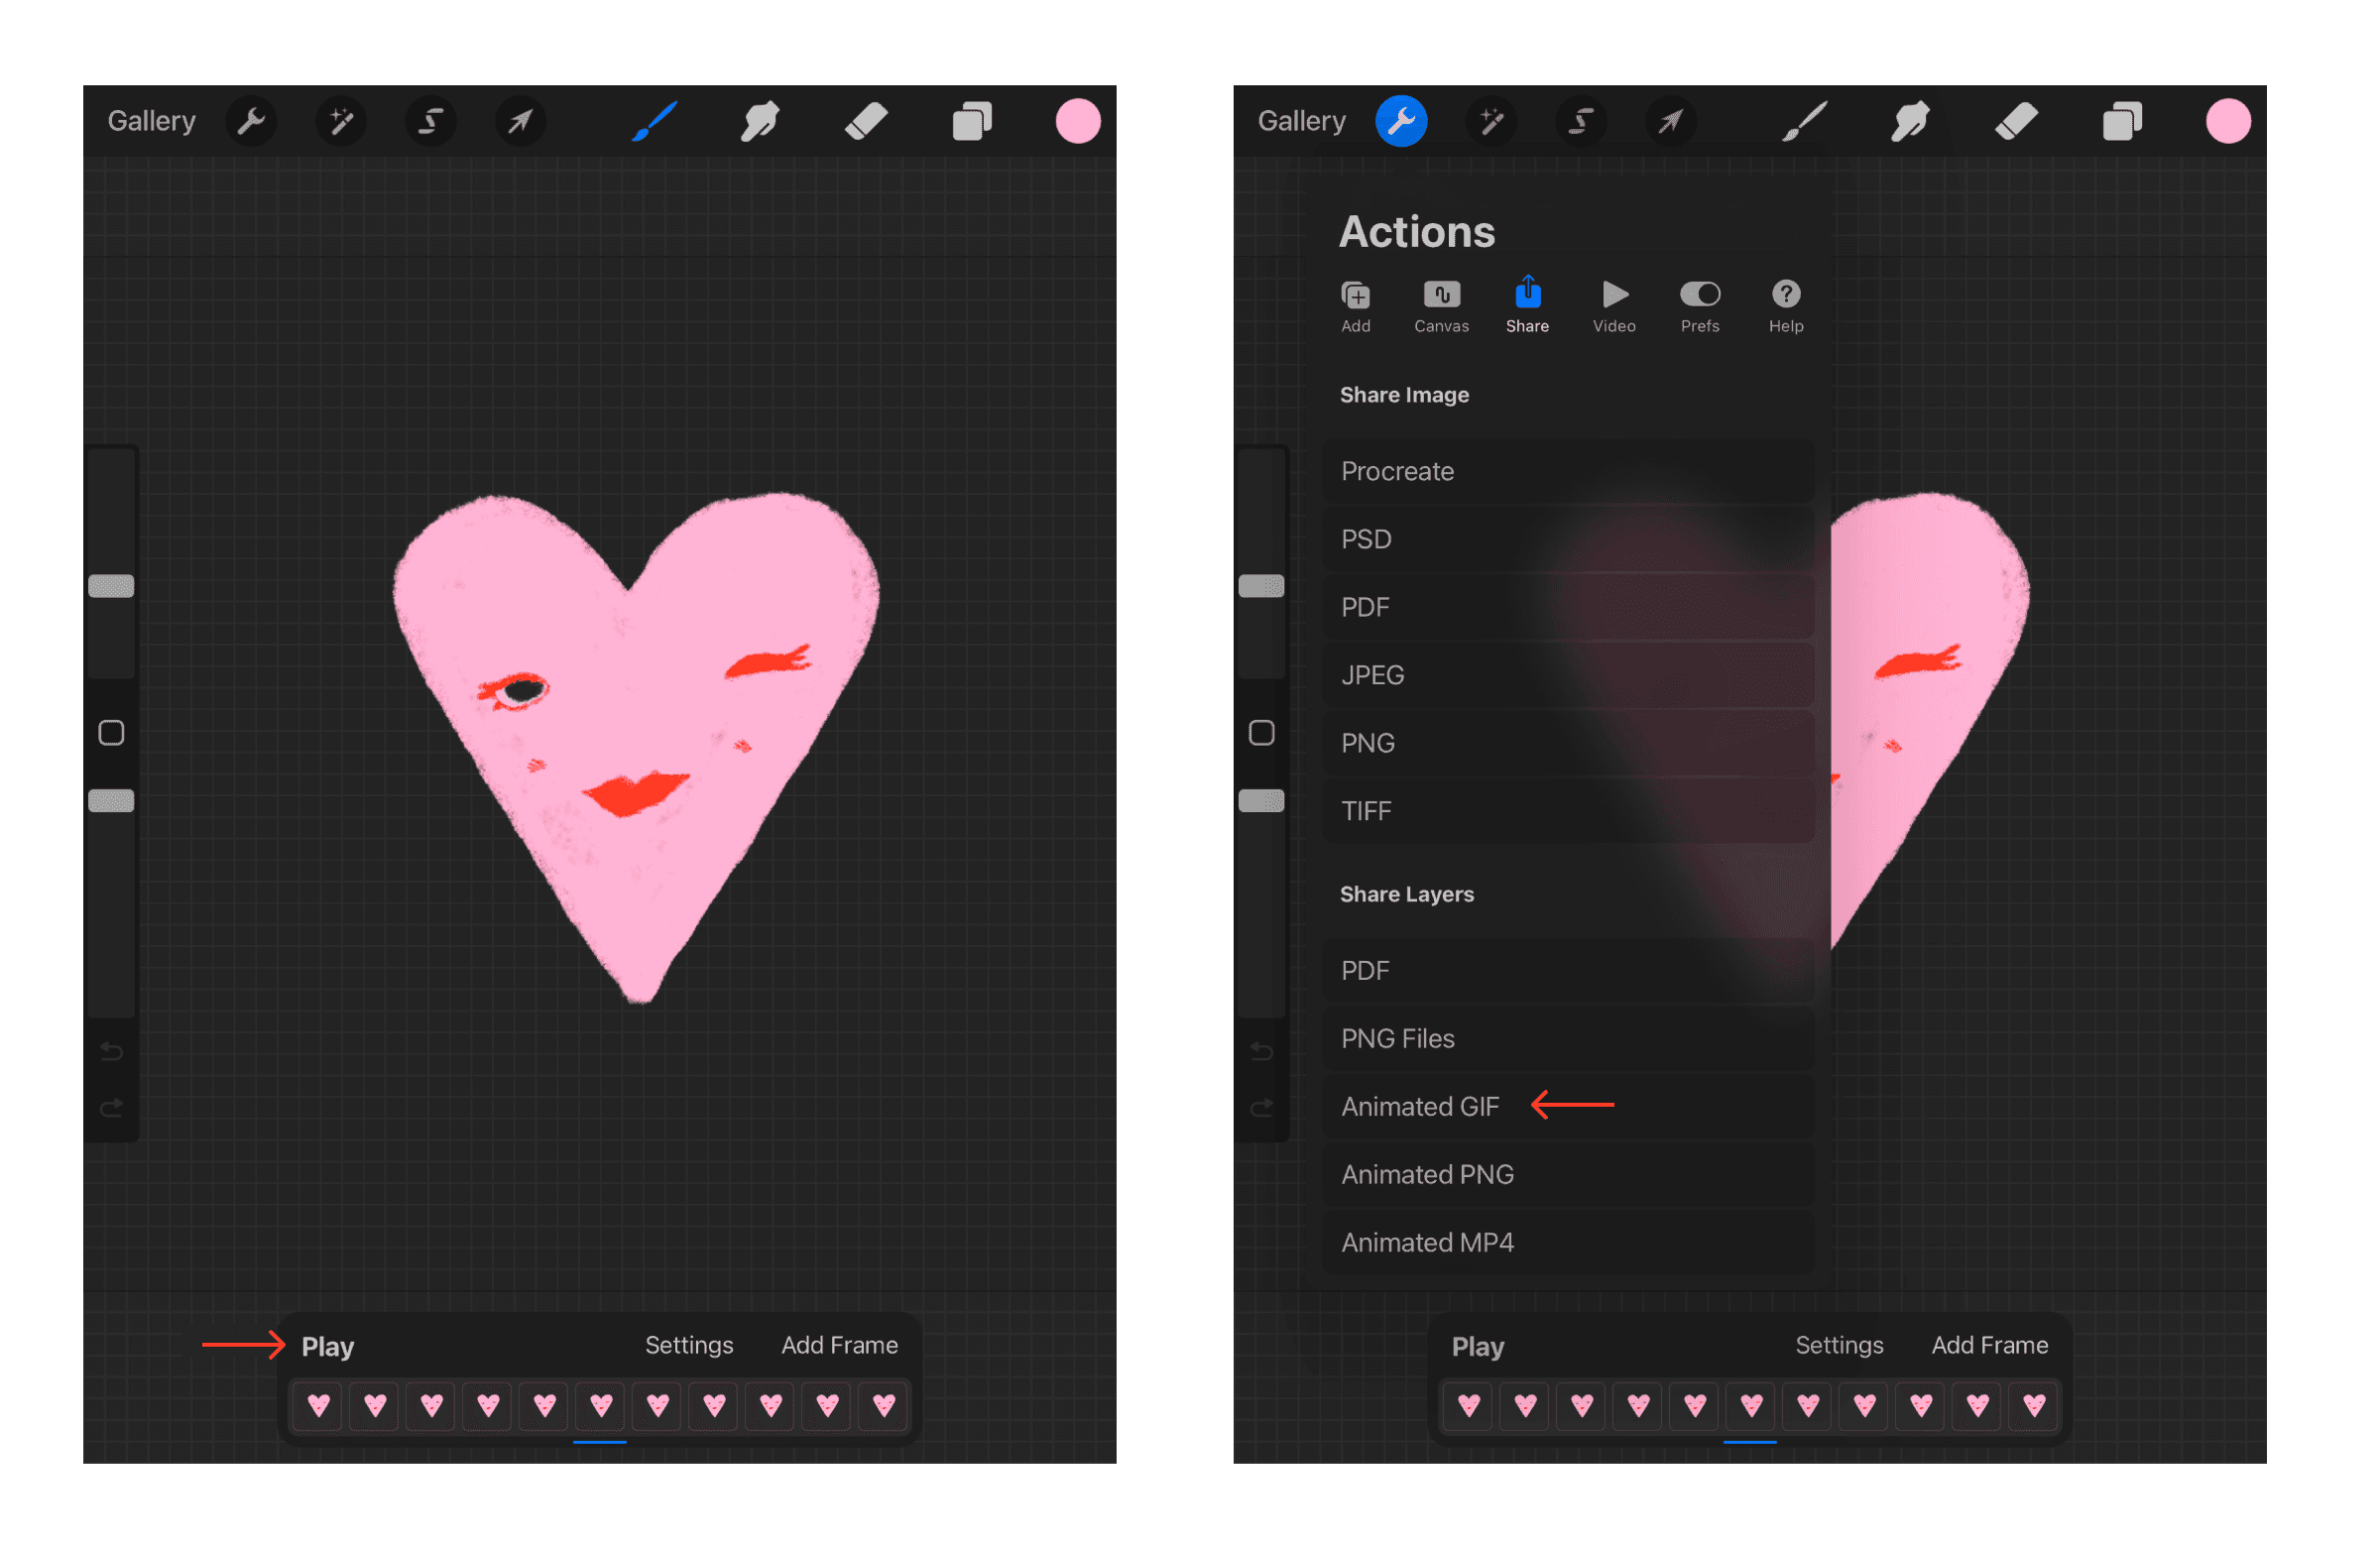
After you’re all set up you’ll want to go to “actions” and toggle on the “animation assist” feature. This will allow you to see your frames at the bottom of your workspace. You might also want to use the “onion skin” feature under “settings” in that bar at the bottom of your workspace.
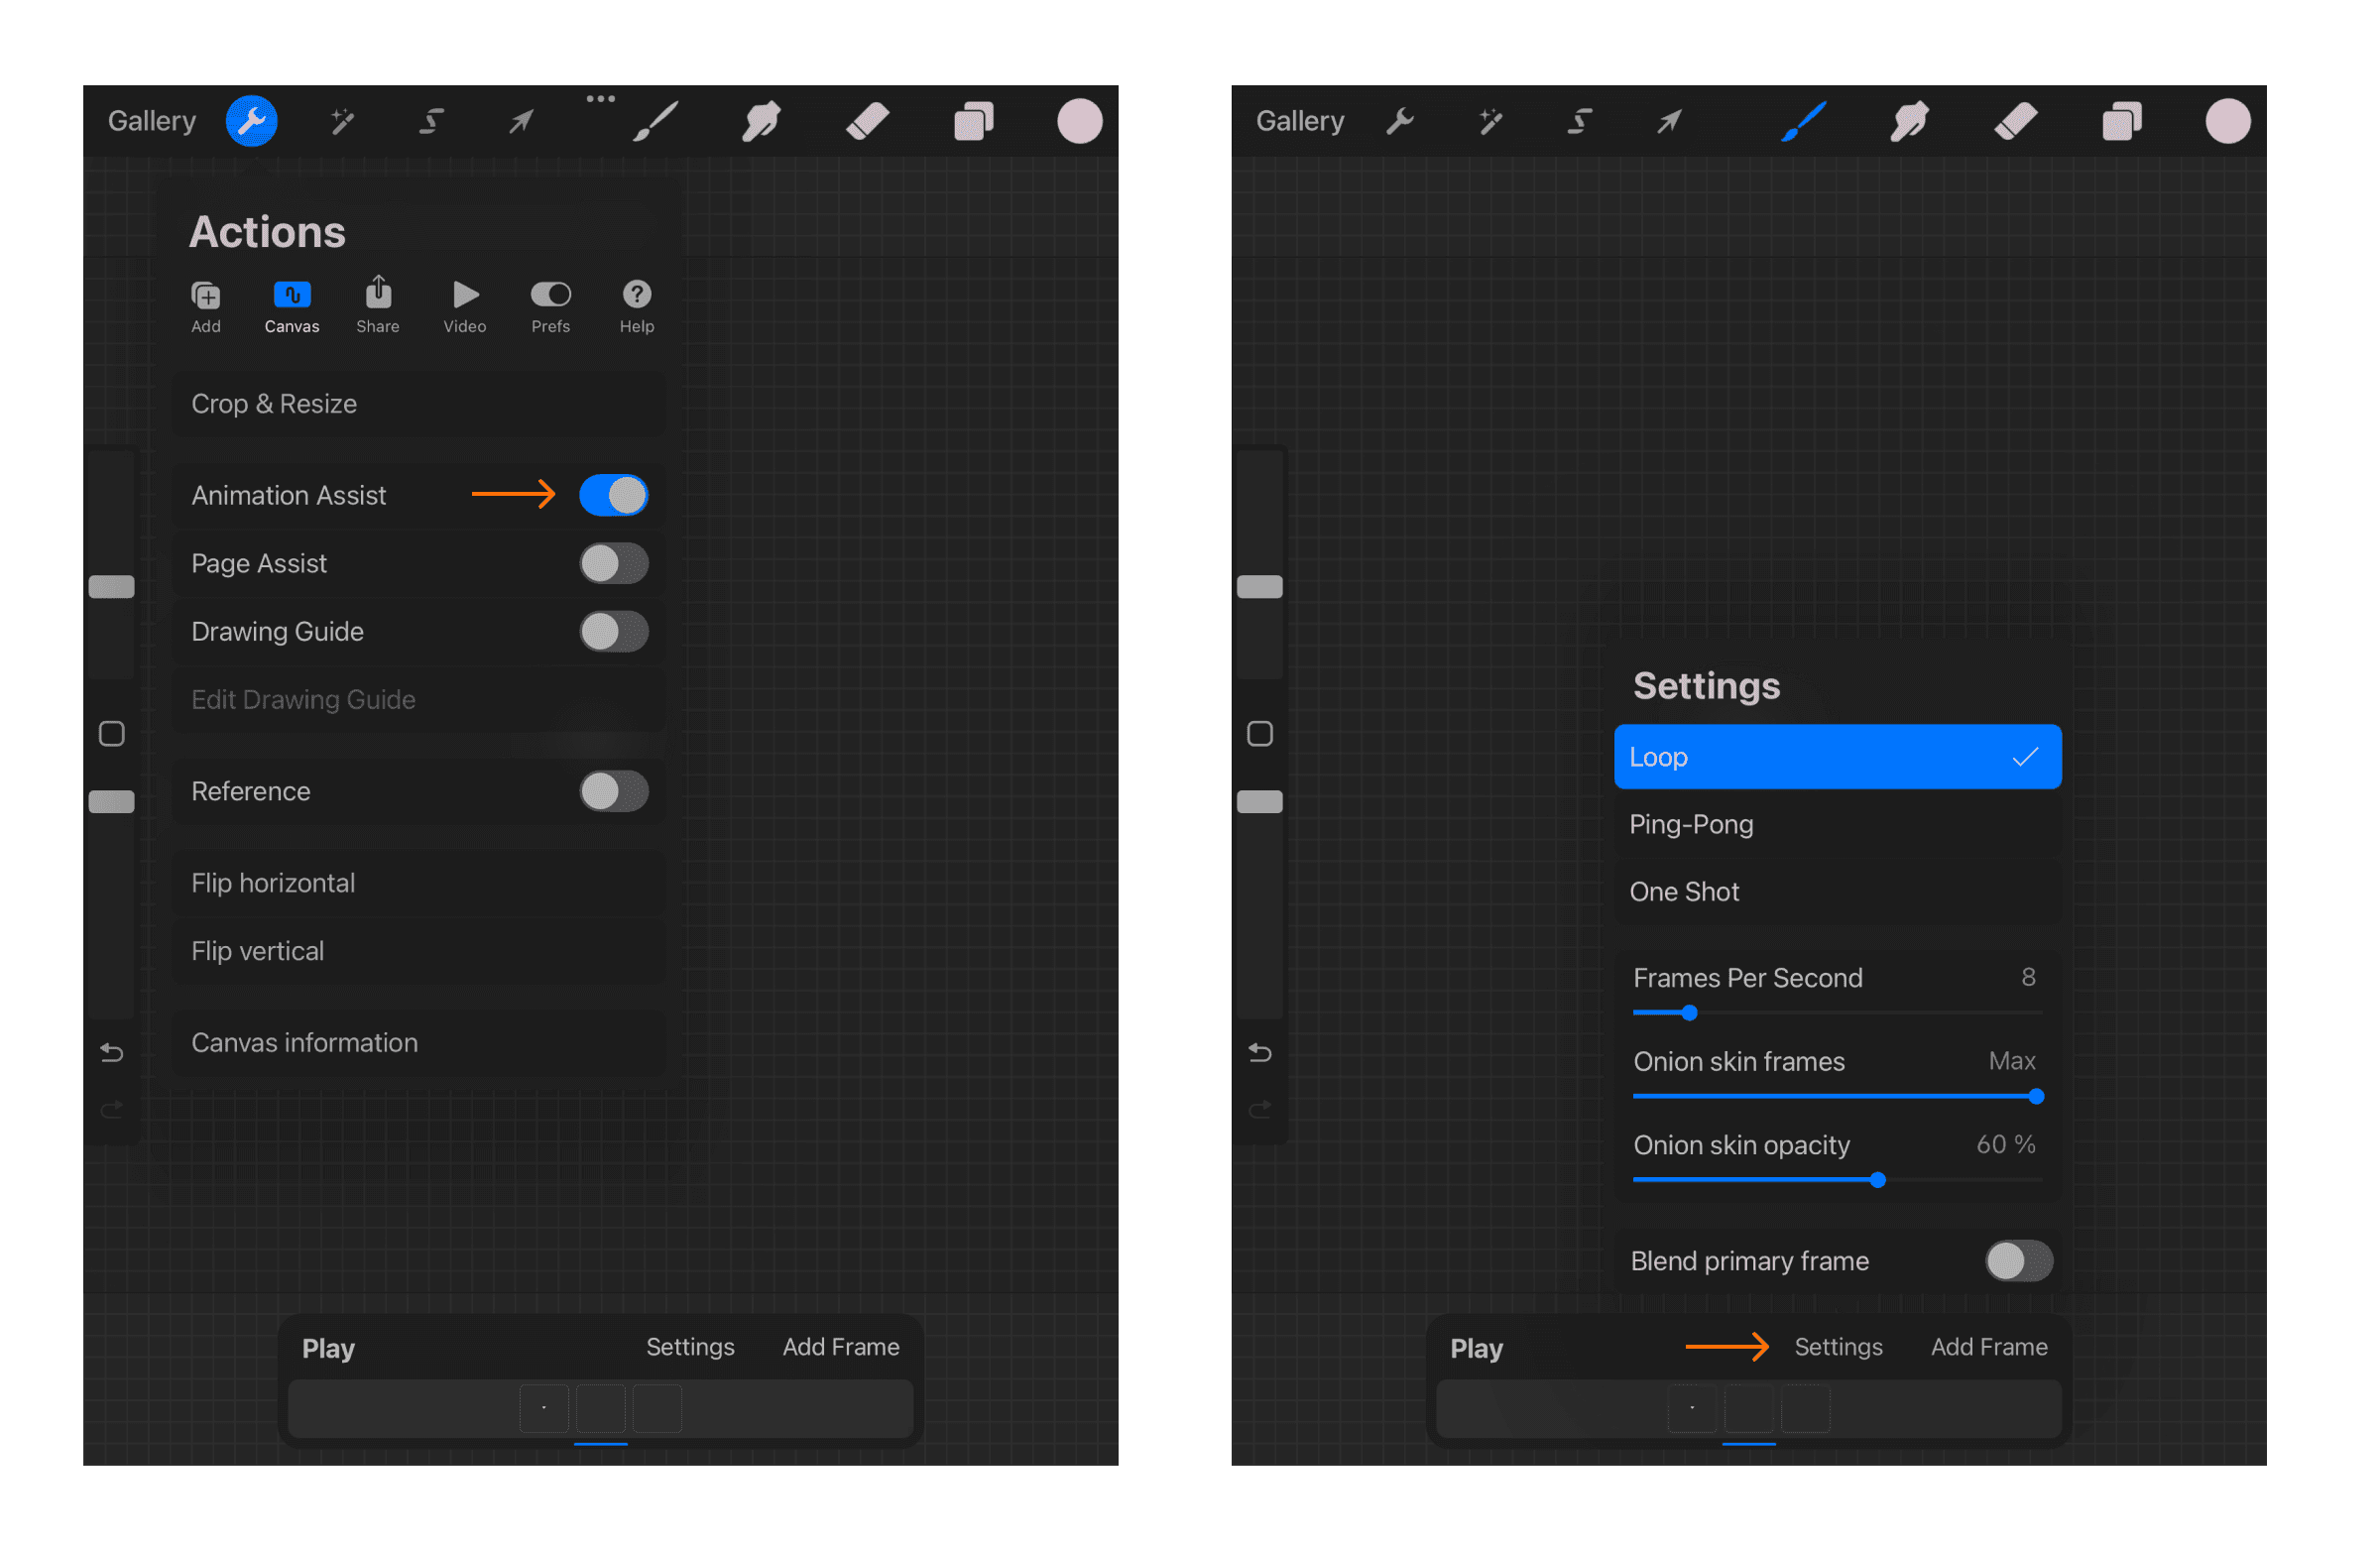
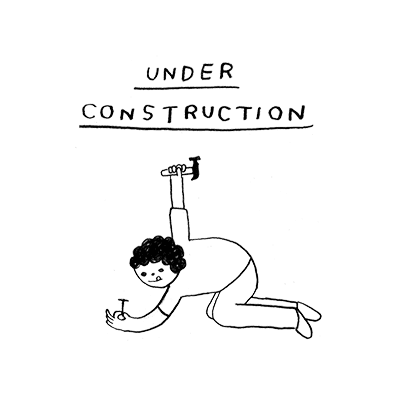
This will help you see the position of your previous layer and adjust as you need to. Now you’re ready to start creating! Start with the very beginning of your animation in mind – this is frame 1. As you add more frames think about how you want your animation to unfold and keep in mind that the more frames you include, the smoother things will look. And the longer things will take.. But again that’s up to you and the style you’re going for! You can keep things real simple folks. Below is an example of a very nice 2 frame animation by H. Goodspeed.
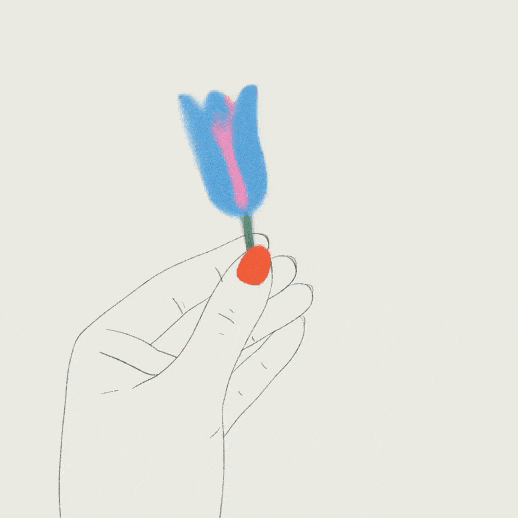
Below is another example to reference by Marine Buffard that might have taken a bit more time and required more frames.
After you’ve gotten a good amount of frames drawn, you can tap “play” at the bottom of your workspace to see your progress. Continue to add frames and adjust your sketches until it's just right. Once you’re ready to export, make sure all of your layers are turned on, then go to “actions”, "share" and select “animated GIF”.
And there you have it! Your very own custom GIF!

That's my quick and dirty walkthrough. If you're interested in doing something more complex you should check out Leon Washere's work, Jeff Scher's work, Miguel D’Errico, and Agathe Bray-Bourret's work for inspiration. Mixed media animation is a great option for creators who like more of an analog process. You don't have to have fancy tech on hand–you can create compositions using just a pen and paper, or try something a bit more challenging like paint or collage.
Whatever your style or process, rotoscoping offers endless possibilities for artistic expression and visual storytelling. It's a great skill to add to your creative toolbox!